
Slat Ceiling Panel YZSC-012
|
Panel Width |
145mm |
|
Panel Depth |
16mm |
|
Panel Height |
Various (1200mm, 2400mm, 2600mm & 2800mm) |
|
Slat Width |
10mm |
|
Recess Width |
16mm |
|
Material |
PVC |
|
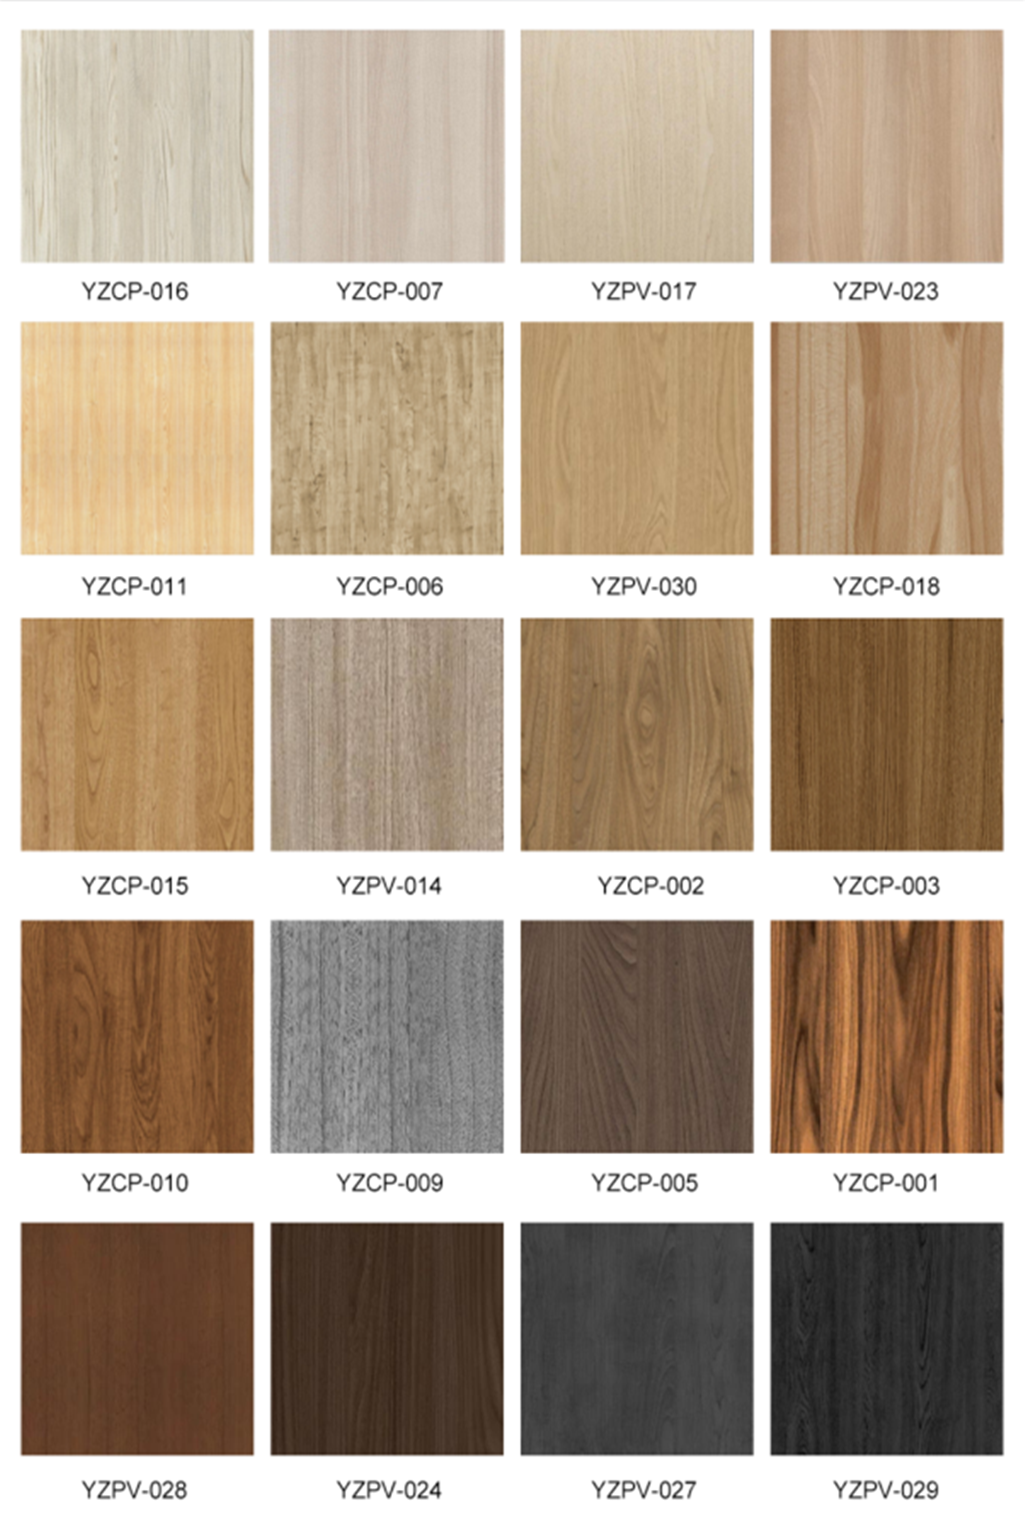
Colour |
Natural Wood and Customized Color |
- Overview
- Recommended Products
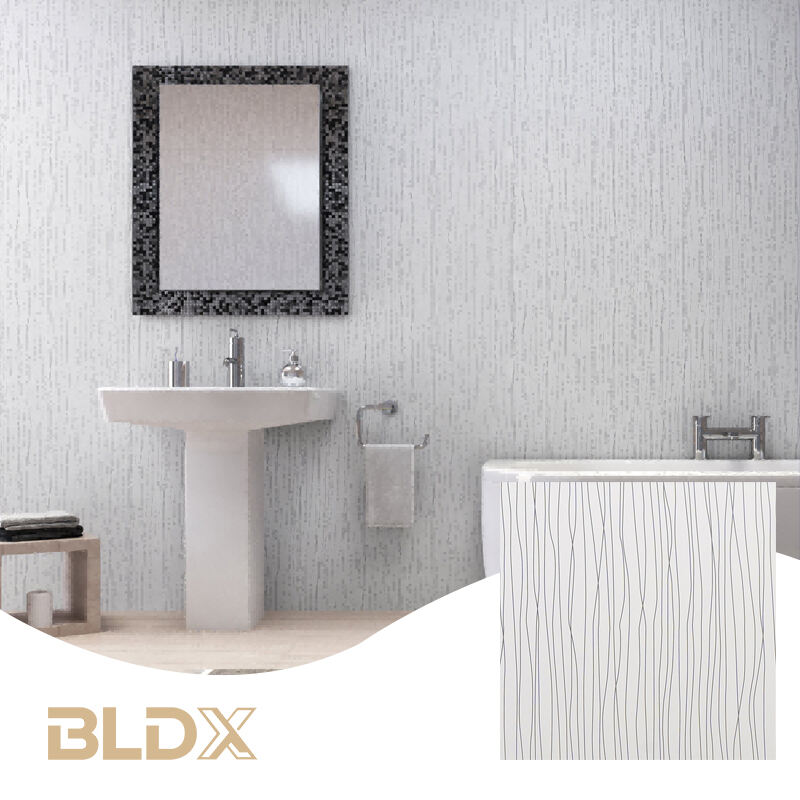
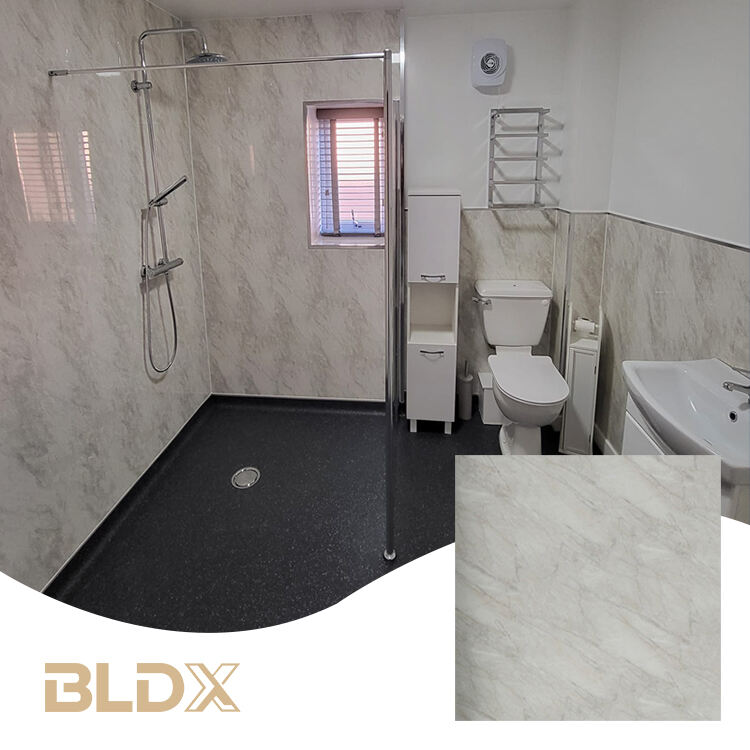
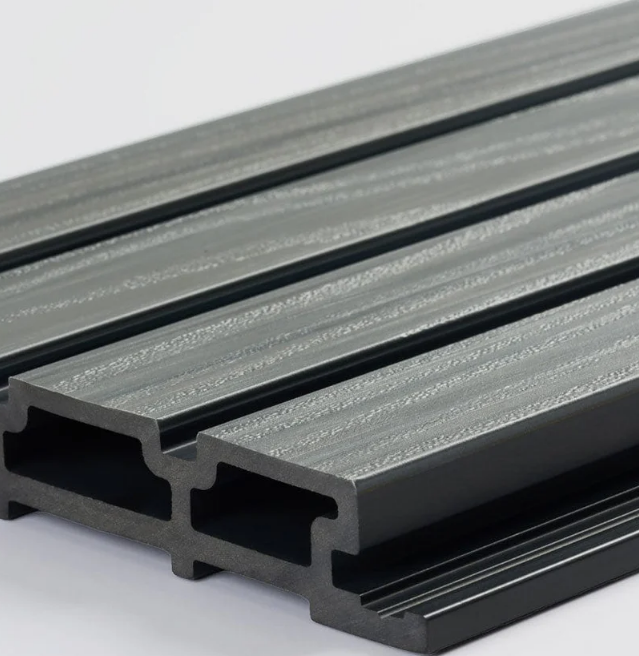
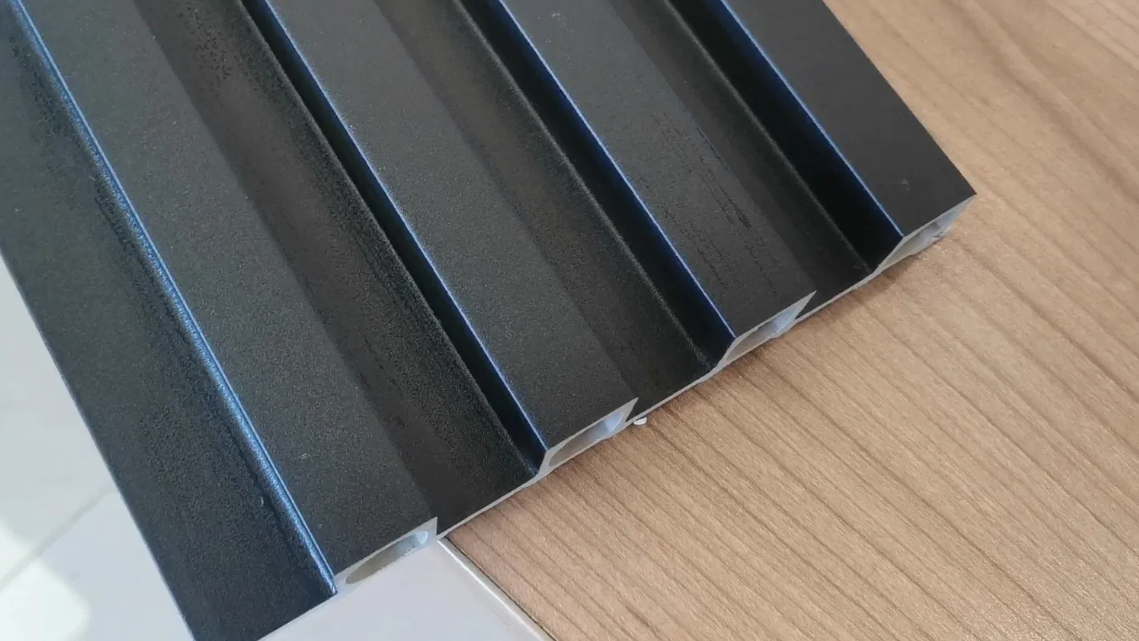
Description:
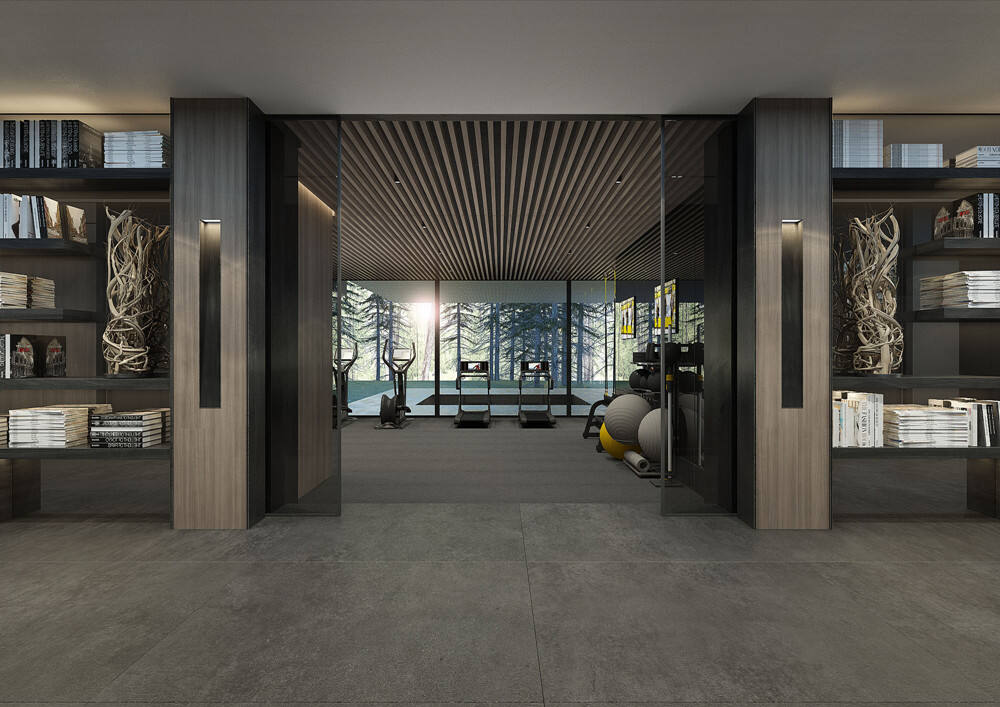
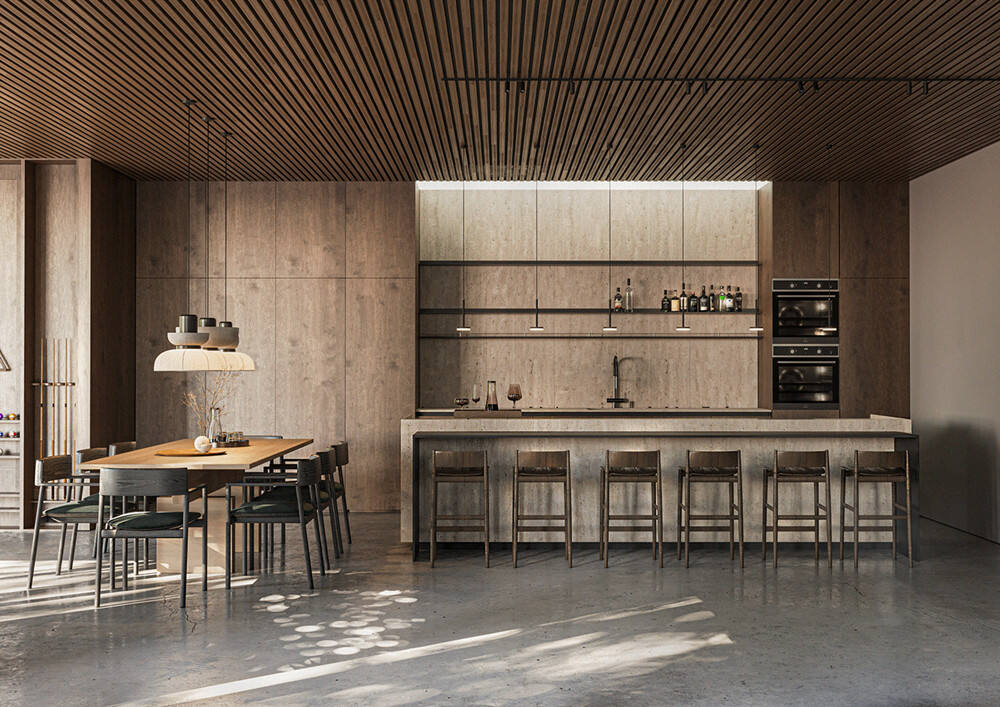
The slat ceiling panel cleverly utilizes its unique design to visually enlarge the space while imparting a sense of openness and spaciousness to the entire area. By visually expanding the sense of space, the slat ceiling panel enhances the minimalist style and design aesthetic of modern homes. Its inherent linear beauty adds a distinctive touch to contemporary minimalist home environments.
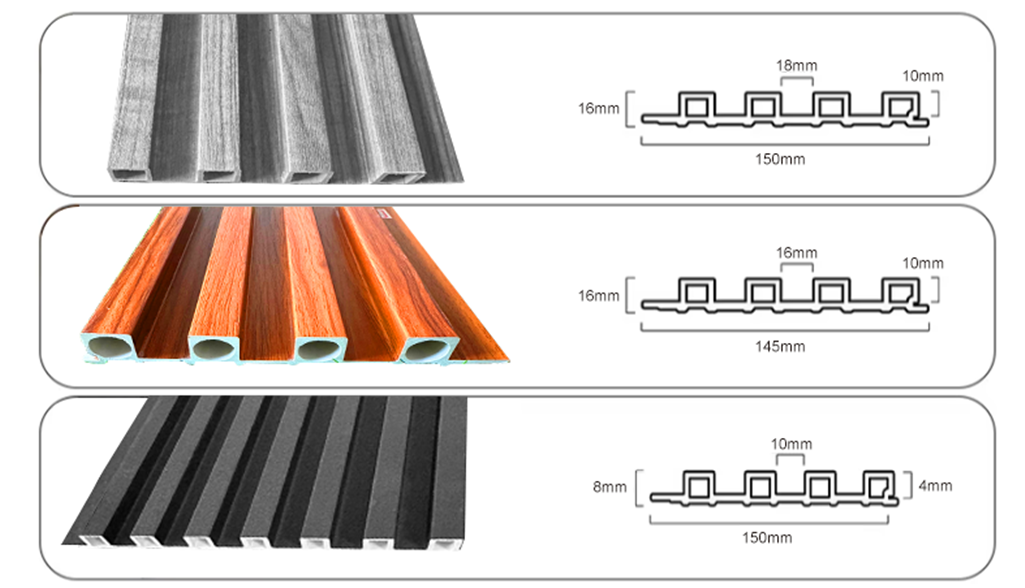
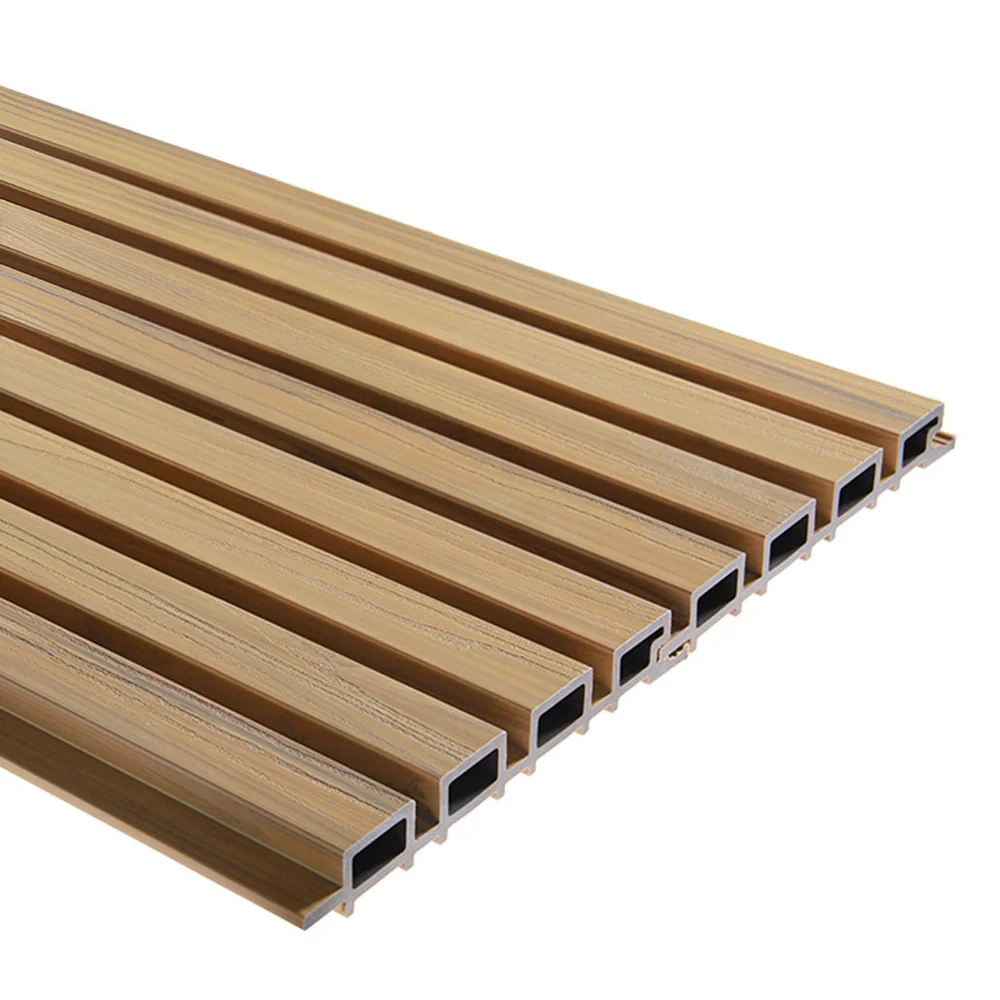
Specifications:
Product Specification | |
Panel Width |
145mm |
Panel Depth |
16mm |
Panel Height |
Various (1200mm, 2400mm, 2600mm & 2800mm) |
Slat Width |
10mm |
Recess Width |
16mm |
Material |
PVC |
Colour |
Natural Wood and Customized Color |
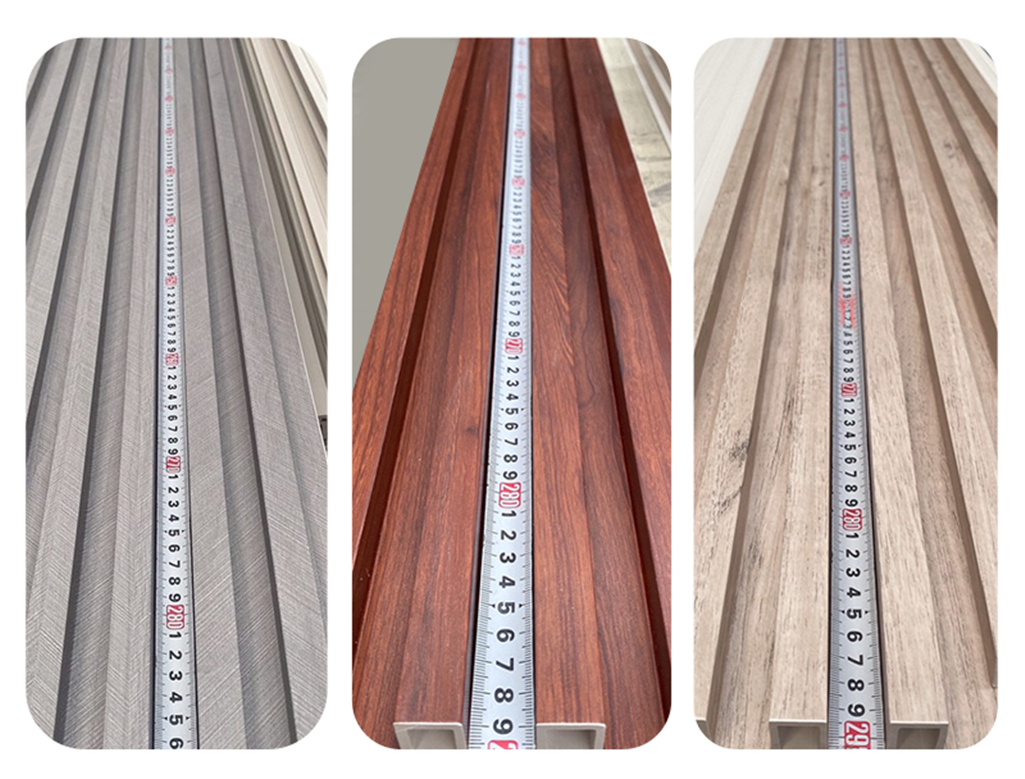
Surface Texture |
Natural Wood Grain |
Installation |
Ceiling |
Additional Info |
Residential & Commercial Use |
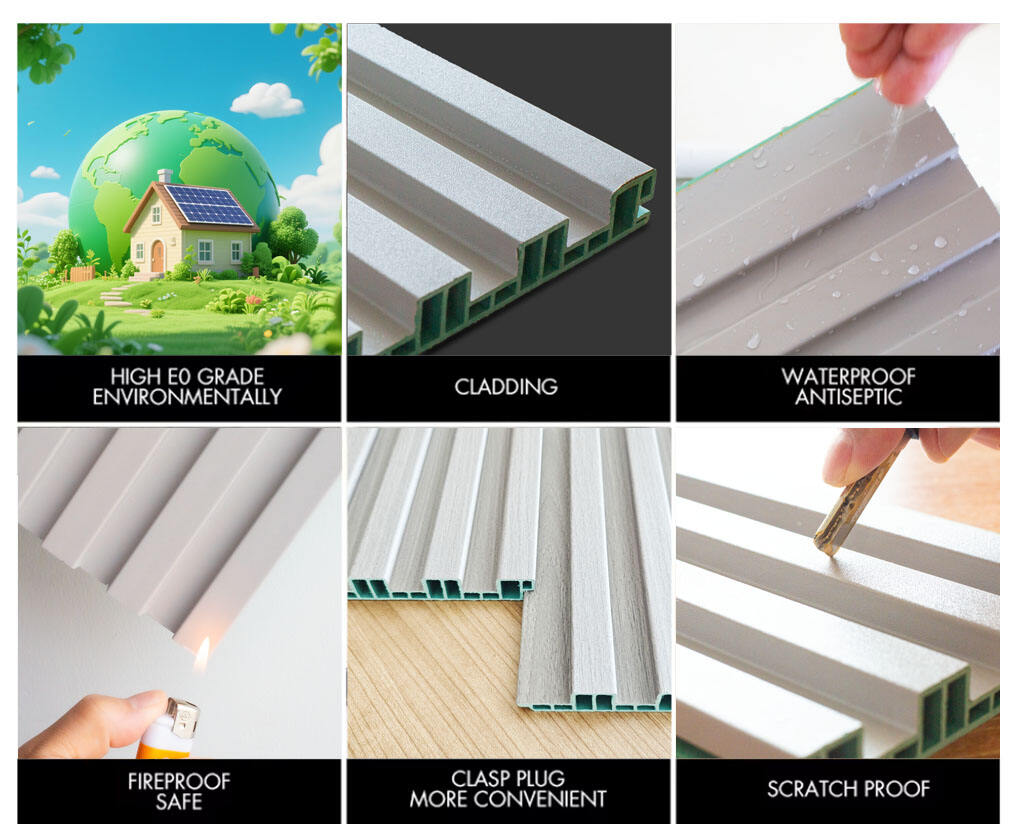
Competitive Advantage:
Advantages of PVC Slat Ceiling Panel
1、Lightweight, Waterproof, and Chemical-Resistant.
The material is lightweight, waterproof, moisture-proof, and resistant to acids and alkalis, making it a primary choice for indoor ceilings.
2、Cost-Effective
As one of the most economical ceiling options, its price is much lower than materials like gypsum boards or mineral fiber panels, making it a highly popular decorative material.
3、Non-Toxic and Eco-Friendly
The panels are odor-free and contain no harmful substances, posing no risk to human skin or the respiratory system. For those sensitive to wood or paint, PVC Slat Ceiling Panels are an excellent choice for kitchens or bedrooms.
4、Quick and Easy Installation
Lightweight and simple to install, they are perfect for both DIY enthusiasts and professionals.
5、Low Maintenance Costs
Easy to clean—just wipe with a damp cloth.
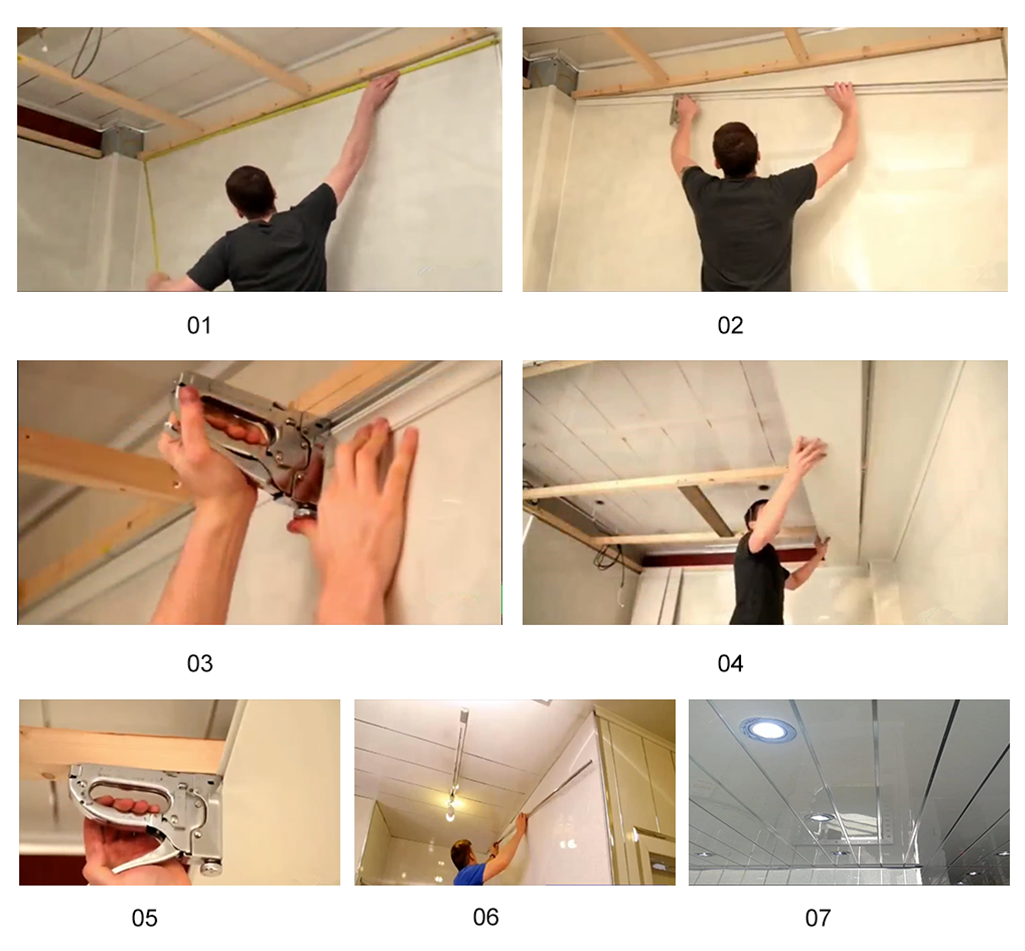
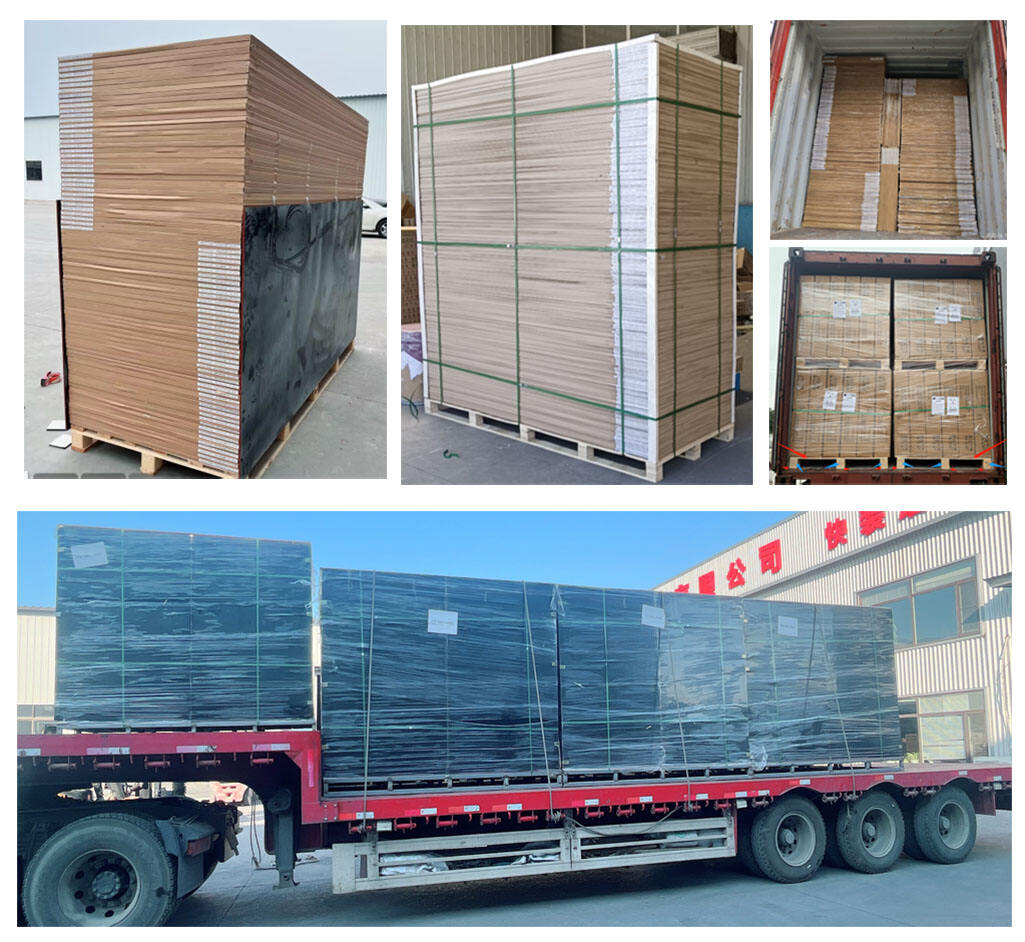
Steps for Installing Slat Ceiling Panels :
1、Measure the Ceiling – Measure the length and width of the ceiling to determine how many panels are needed, ensuring some extra space is left for cutting and adjustments.
2、Reference Lines – After measuring the ceiling area and confirming the dimensions of the slat ceiling panels, mark the position of the furring strip lines, which should be aligned above the reference lines.
3、Prepare the Panels – If your slat ceiling panels are not pre-cut to fit the ceiling dimensions, you will need to trim them. Use a saw or sharp scissors for cutting, and always wear gloves and safety goggles during this process.
4、Install the Furring Strips – The furring strips provide structural support, ensuring a secure installation. Begin by drilling holes in the wall and installing the perimeter furring strips first, followed by the main furring strips. The spacing between the main and perimeter strips should be carefully controlled, ideally around 80 cm. Adjust the horizontal alignment of the main and perimeter strips using a construction line.
5、Install the Panels – Start by placing the first panel in a corner of the ceiling, ensuring it is flush with the furring strips. Secure the panel to the strips using screws, then continue the process until all panels are installed.
6、Finish the Edges – Use trim strips to cover the edges where the panels meet the walls.