
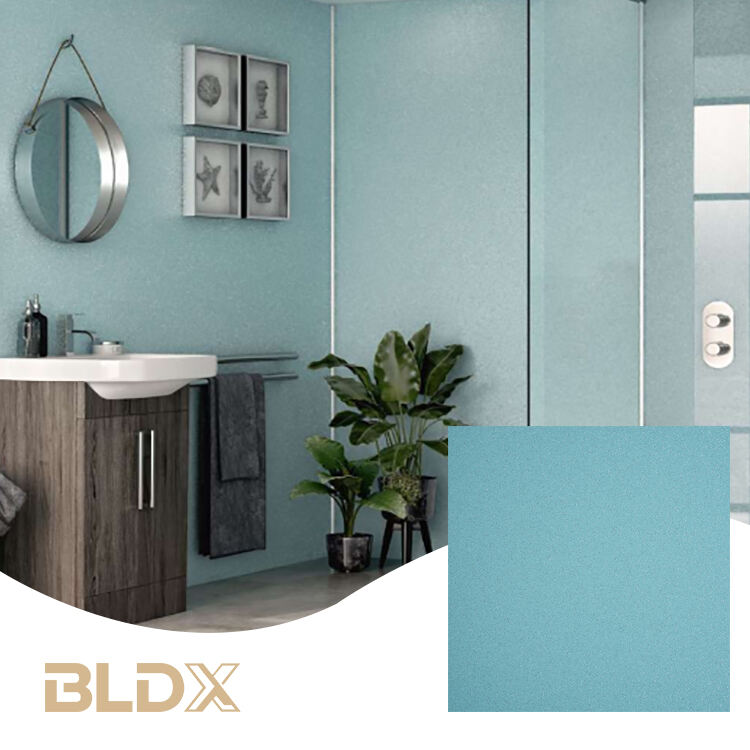

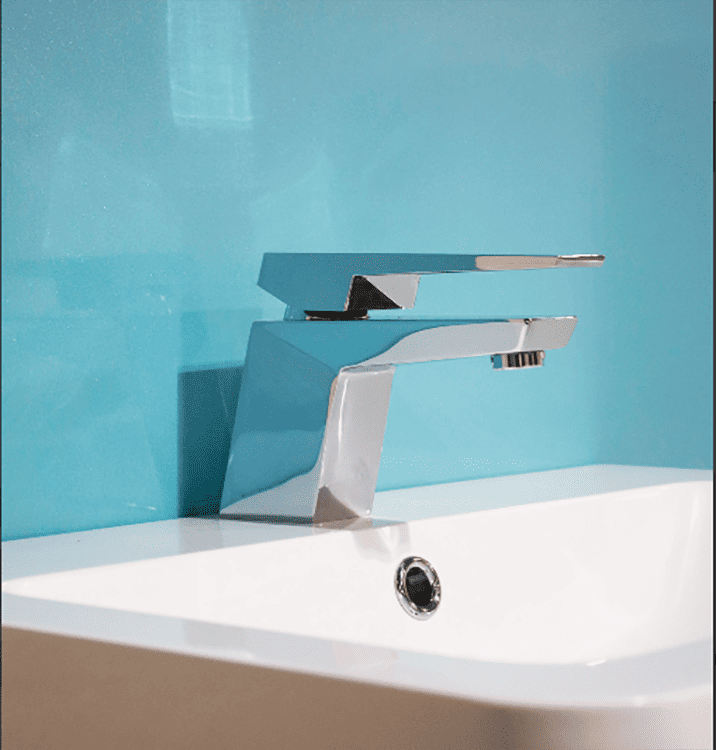
Shower Panel YZSP-019
|
Height: |
2.4m 、2.44m、2.6m,or customized |
|
Width: |
250mm、300mm、600mm、1000mm、1200mm |
|
Depth: |
5mm、8mm、10mm |
|
Material: |
High-grade PVC |
|
Colour: |
Various Color and Customized Color with Tile effect |
|
Texture: |
None/smooth |
- Overview
- Recommended Products
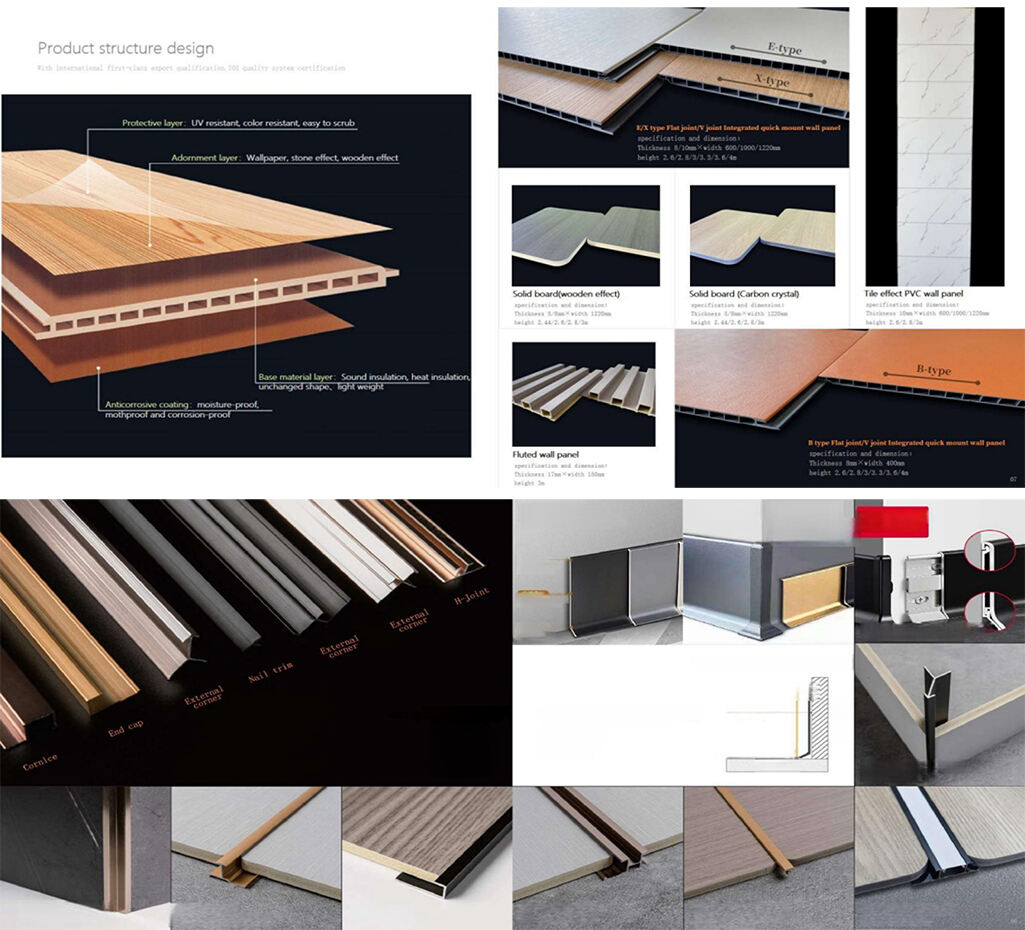
- Product Structure Design
- Product Character
- Installation Steps
- Project Cases
- Why Choose Us?
- Global Development Trend of PVC wall panels
Description:
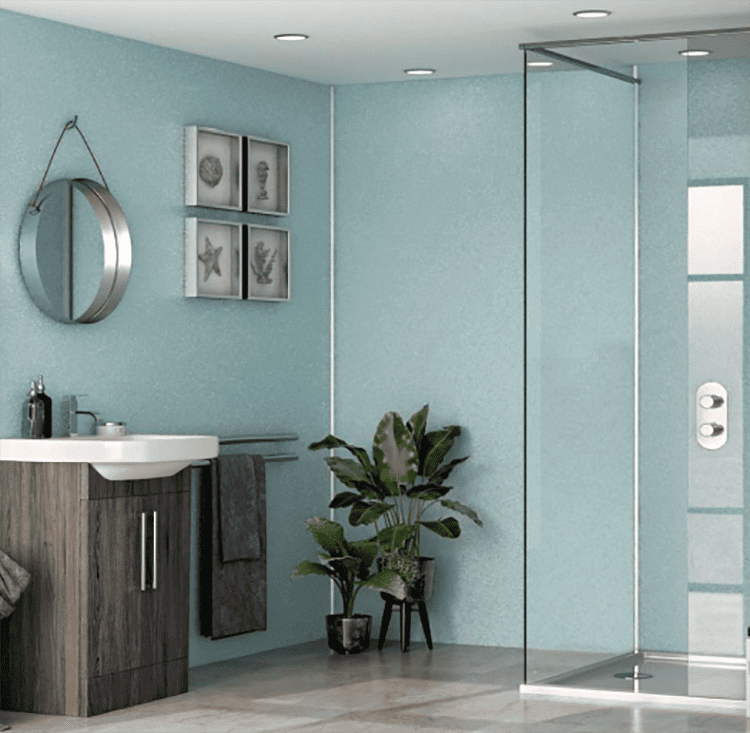
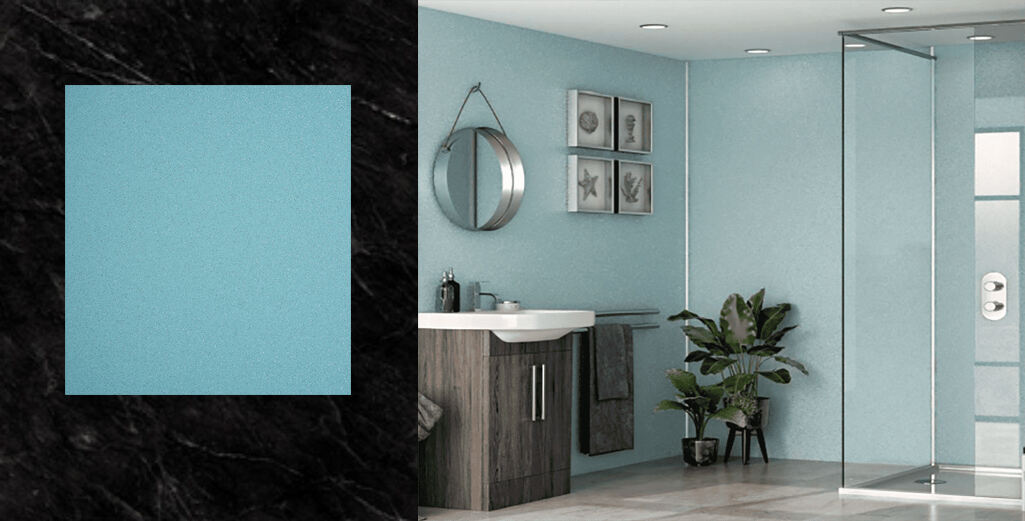
The core characteristic of the light blue wall panel lies in its high brightness and low saturation. This balance allows it to retain the fundamental attributes of blue while avoiding the oppressive feeling of traditional dark blue. Its gentle stimulation to the optic nerves makes it ideal for creating a relaxed atmosphere. Additionally, the wall panel is easy to clean and install, with 100% waterproof capability.
Specifications:
Product Specification | |
Height |
2.4m 、2.44m、2.6m,or customized |
Width |
250mm、300mm、600mm、1000mm、1200mm |
Depth |
5mm、8mm、10mm |
Material |
High-grade PVC |
Colour |
Various Color and Customized Color with Tile effect |
Texture |
None/smooth |
Finish |
Gloss or Matt |
Structure |
Hollow cellular core |
Joint |
Tongue & Groove |
Installation |
Internal walls |
Waterproof |
Yes |
Feature |
Good quality,light weight,waterproof(100%),moisture proof,easy clean etc. |
Competitive Advantage:
Bathroom panels not only offer a sleek, contemporary look but also bring a range of practical benefits that make them a superior option for both functionality and style. Here are five reasons why shower panels are the future of bathroom design.
1. Complete Waterproofing
2. Mould and Mildew Resistance
3. Stylish, Seamless Aesthetic
4. Quick and Easy Installation
5. Cost-Effective and Long-Lasting
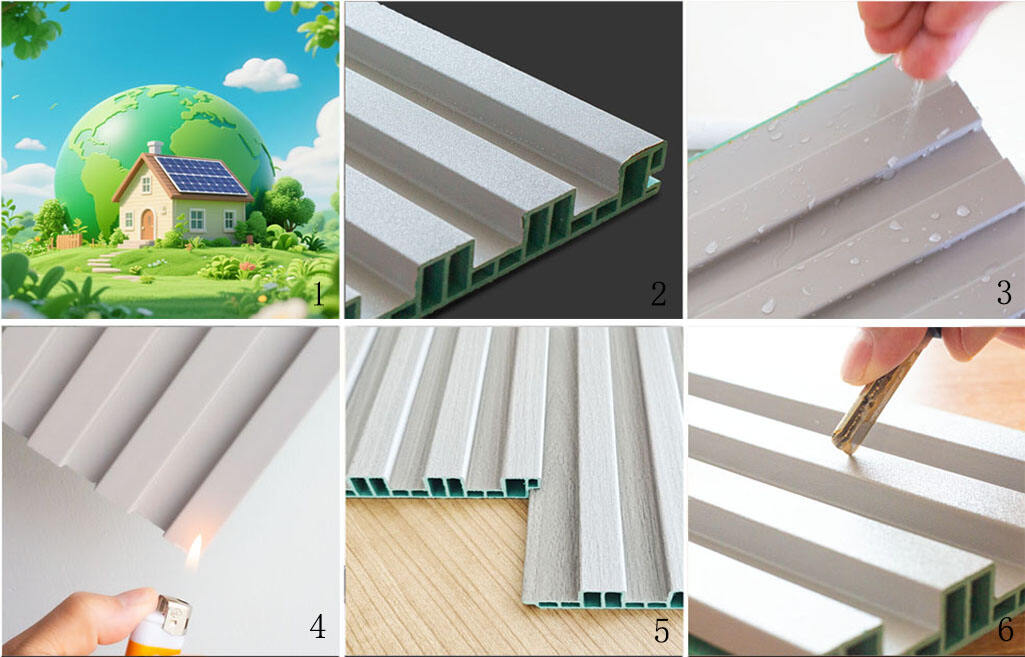
1) High E0 Grade Environmentally 2) Cladding 3) Waterproof Antiseptic
4) Fireproof Safe 5) Clasp Plug More Convenient 6) Scratch Proof

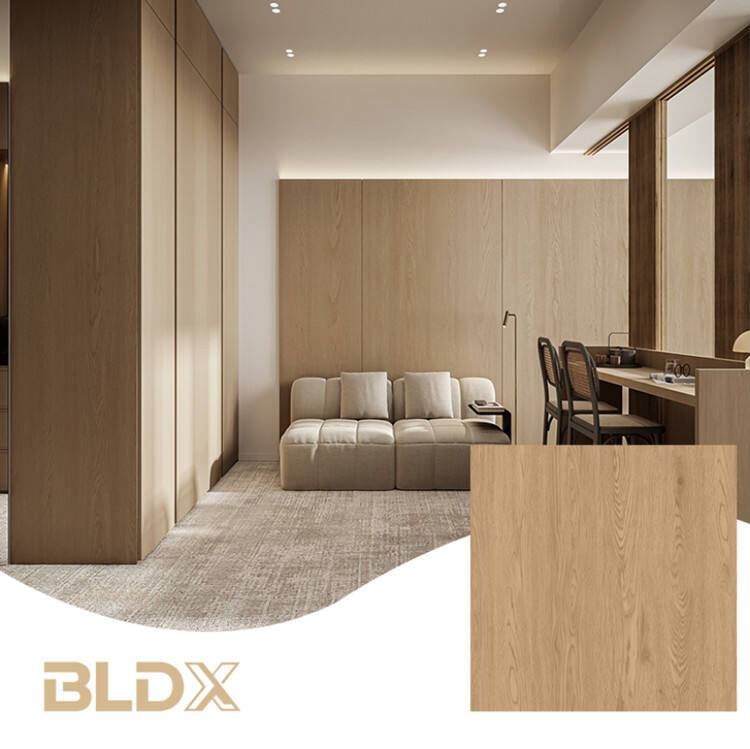
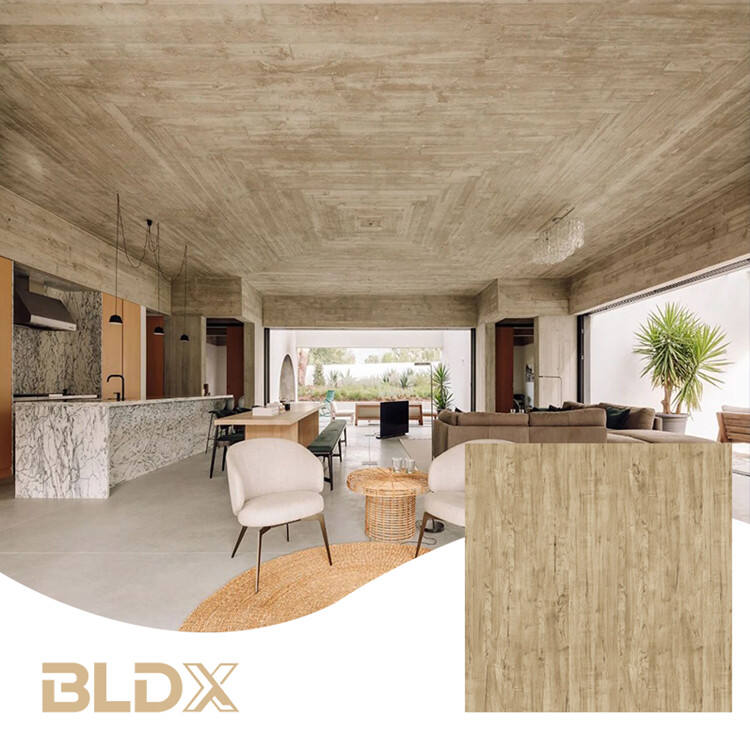
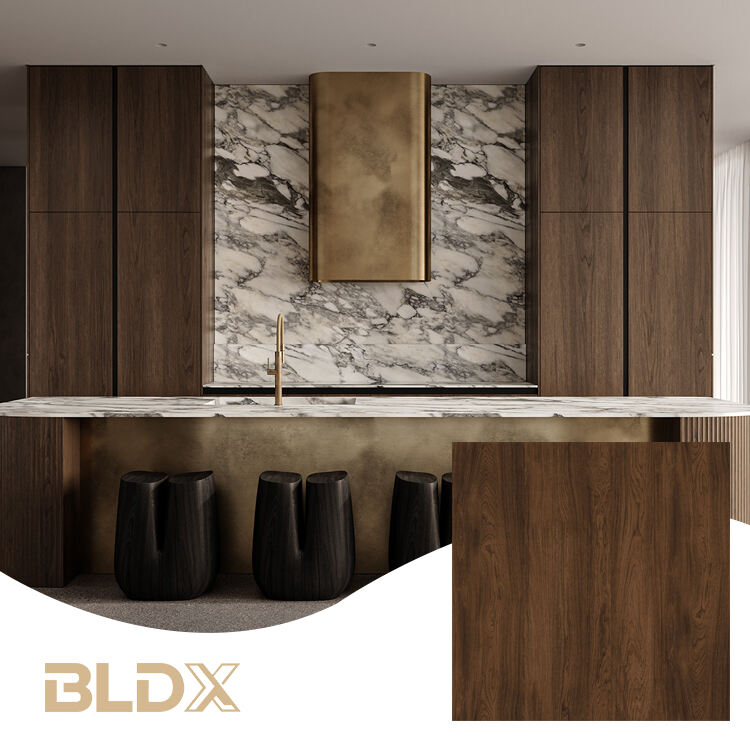
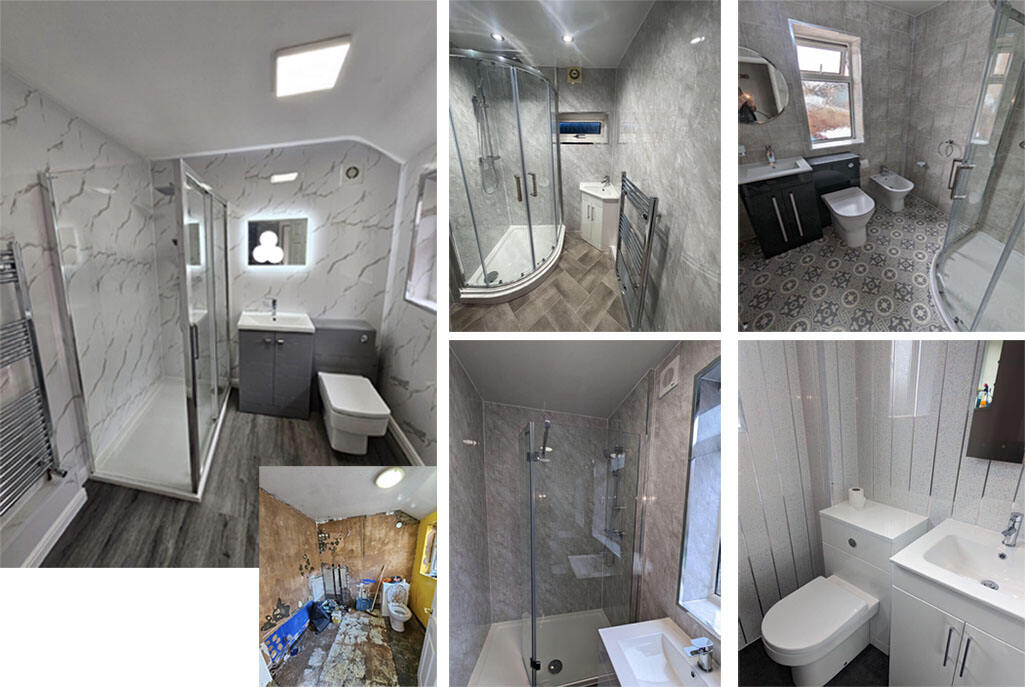
Residential Renovation & Designs for New House / Hotel


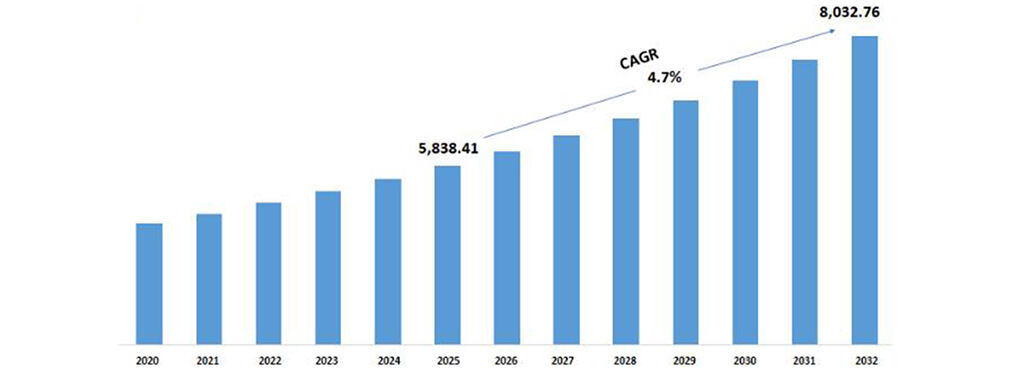
Global PVC Wall Panels market is estimated to reach $8,032.76 Million by 2032;
 growing at a CAGR of 4.7% from 2025 to 2032.
7. Get one Catalogue & Quota
Contact us ![]() +86 13898028097
+86 13898028097 ![]() [email protected]
[email protected]