

כיצד להתקין פאנלים של PVC לחדר אמבטיה כדי לשפץ אותם במהירות ובקלות
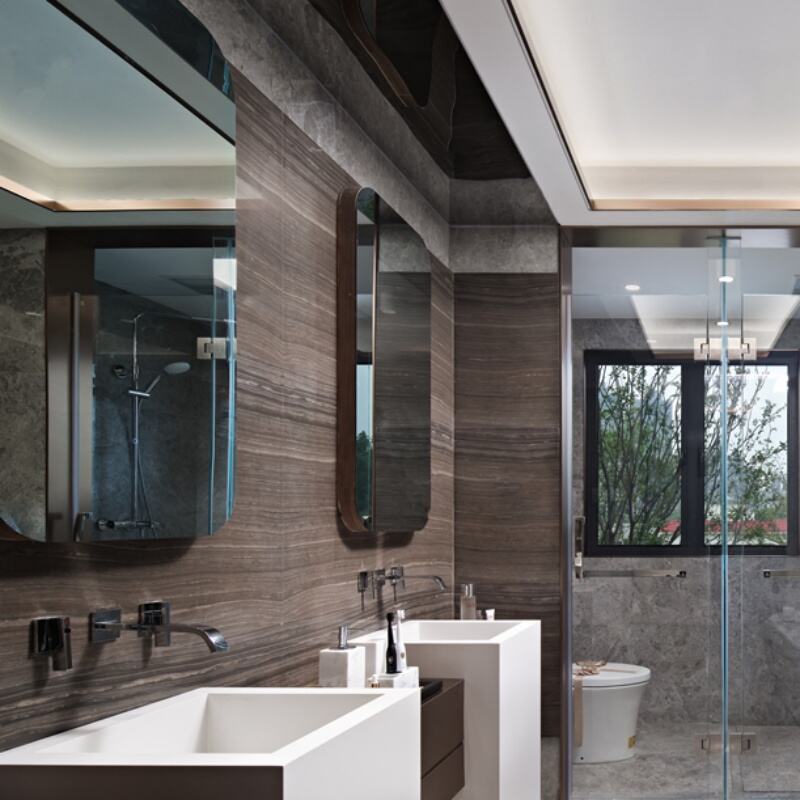
התקנה לוחות קיר PVC לathroom היא דרך מצוינת לרענן את חדר האמבטיה שלך בלי הטרחה של אריחים מסורתיים. הלוחות האלה קלים, עמידים למים, ומוועדים להתקנה פשוטה DIY, מה שהופך אותם מושלמים לתיקון מהיר. בין אם אתה DIYER מנוסה או חדש לפרויקטים בבית, בעקבות הצעדים הנכונים לוחות קיר PVC לathroom נראה מקצועי ותחזיק מעמד שנים. בואו נפרק את התהליך, מההכנה עד לטיפול הסופי, כדי לעזור לכם להשיג התקנה חלקה ומוצלחת.
מדוע לבחור פנלי קיר PVC למקלחת כדי להתקין אותם בקלות?
לפני שנכנס למדרגות, כדאי לציין מדוע לוחות קיר חדר האמבטיה מ-PVC הם אידיאליים לשיפוצים מהירים:
- הם קלים, כך שאין צורך בעזרה בהרמת חומרים כבדים.
- לרוב הלוחות קצות מחוברות שמסתדרות יחדיו ויוצרות חותם מוצף וمقاומת מים ללא פערים.
- ניתן לגזור אותן באמצעות כלים בסיסיים (כגון סכין רב-תכליתי או מסור), אין צורך בכלים מיוחדים.
- הם מותקנים ישירות על פני שטח נקיים ושטוחים – אין צורך להסיר titles ישנות או לתקן נזקי קיר קלים.
תכונות אלו מאפשרות לך להפוך את הרחצה בוקשה של סוף שבוע, גם אם אינך מותקן מנוסה.
כלים וחומרים שתצטרכו
אספו את האביזרים האלה לפני תחילת העבודה כדי שההתקנה תתקדם חלקות:
- לוחות קיר לרחצה מ-PVC (מדדו את הקירות שלכם קודם כדי לקנות את הכמות הנכונה)
- ציפורן (בחרו נוסחה נגד מים שפותחה ל-PVC, כמו ציפורן בנייה ללא ממסים)
- כלים לגיזום (סכין רב-תכליתי, מסור עוקף או מסור יד – תלוי בעובי הלוחות)
- שרף מדידה ועיפרון
- רמה (רגליים או ארוך יותר)
- Pishelet silikon (לשרף ודבק)
- נייר חמר (גריט דק, להחלקת קצוות חיתוך)
- תומכים או עצמים כבדים (כדי להחזיק את הלוחות במקומן בזמן ייבוש השרף)
- חומר פותח מים (לסגירה של קצוות סביב מקלחות, אגרת או חלונות)
- מפתח פליז או מקשה (במידת שימוש ברגלים להifixת הלוחות, אם כי לרוב שירף מספק)
שלב 1: הכנת הקירות
הכנה מתאימה תבטיח שהלוחות לחדרי רחצה PVC יידבקו היטב ויראו שטוחים. עקובו אחר השלבים הבאים:
- נקו את הקירות : הסר כל אבק, שמן או עששת בעזרת ניקיון קל וספוג. השאר את הקירות יבשים לחלוטין—לחות עשויה להחליש את הדבק.
- בדוק שטחность : השתמש ברמת בועה כדי לבדוק אם הקירות ישרים. בליטות קטנות (פחות מ-1/8 אינץ') מותרות, אך מרווחים או חורים גדולים יותר צריכים למלא בספקל. סנדו כשזה יבש.
- הסר מכשולים : הסר את שילזין המגבות, מראות או תיילים שברחבה. תוכל להתקין אותם מחדש לאחר שהパ널ים מותקנים.
- קדים אם נדרש : אם הקירות צבועים בצבע בריק, סנד למטושטש את המשטח. זה עוזר ליצירת הדבק. עבור לקarton גבס גלוי, אין צורך בקימוע.
שלב 2: מדוד וחתוך את הפלטות
פלטות קירbath PVC מגיעות בגדלים סטנדרטיים, אך כנראה תצטרך לחתוך אותן כדי להתאים לקירות שלך, במיוחד סביב חלונות, דלתות או התקנים.
- מדוד פעמיים : השתמש בסרגל מדידה כדי לגלות את הגובה והרוחב של החלק בקיר אותו אתה מכסה. הוסף 1/4 אינץ' לגובה כדי לאפשר אי-אחידות בחלק העליון או התחתון.
- סמן את הלוח : העבר מדידות אל הצד האחורי של הלוח PVC (הצד ללא הסיום הדקורטיבי). השתמש בעיפרון ובקצה ישר כדי לשרטט קו ישר.
- גזור בזהירות : ללוחות דקים (פחות מ-1/4 אינץ'), עיפרון תחריט חד יעבוד – סמן את הקו בעומק, ואז כופף את הלוח כדי לשבור אותו לאורך החתך. ללוחות עבים יותר, השתמש במנור חשמלי עם להב שיניים דקים.
- שוליים חלקים : השתמש בנייר חמר דק כדי להחליק קצוות חדים שנוצרו מהחתיכה. פעולה זו מונעת פגיעות ומבטיחה שהלוחות יתאימו זה לזה בצורה צמודה.
שלב 3: החלת צבע ותפיסה של הלוח הראשון
התחל עם הלוח הראשון בפינה או צד לקו מסגרת הדלת – זה יהיה הפן שלך ליושר.
- הדבקה : העבר סליל רציף של צבע לאורך הצד האחורי של הלוח, בערך אינץ' מהקצוות. הוסף נקודות קטנות של צבע באמצע כדי לוודא מגע מלא.
- להתאים את הפאנל : החזקו את הלוח חזק אל הקיר, ודאו שהוא ישר (השתמשו ברמתכם כדי לבדוק את האנכיות). התחתית של הלוח צריכה להיות чуть מעל הרצפה או האמבטיה (השאירו רווח של 1/8 אינץ' להרחבה)
- לتأمين במקום : החזיקו את הלוח 30 שניות כדי שהצמיד יתפס. לתמיכה נוספת, השתמשו בקפצים או השענו עצמים כבדים (כמו ספרים) על הלוח. הניחו שלא לנקב ברגלים או ברגילים אלא אם הלוח גדול מאוד – בדרך כלל הצמיד לבדו מספיק
שלב 4: התקנת לוחות נוספים
ברגע שהלוח הראשון מותקן ביצבע, המשיכו עם הלוחות הבאים, והשתמשו במערכת החפיפה כדי לחבר ביניהם
- התאימו את החפיפה : הזיזו את הלשון של הלוח החדש לתוך החפיפה של הלוח המותקן. ודאו שהם בשורה – ללא רווחים ביניהם
- בדוק יישור : השתמשו ברמה כדי לוודא שהלוח החדש ישר. התאימו במידת הצורך לפני שהצמיד מתיישב (יש לכם בערך 5–10 דקות)
- חזור : המשך להוסיף פנלים, גזור לפי הצורך עבור התקנים. עבור סביב צינורות, מדוד את הקוטר של הצינור, סמן את הפנל, וגוור נקב שגדול במעט מהצינור תוך שימוש במשור בור או סכין רב-תכלית.
5단계: 가장자리 밀봉 및 마감
마지막 단계는 틈을 밀봉하여 설치 부위를 방수 처리하고 깔끔하게 마무리하는 것입니다.
- 고정구 주변 밀봉 : 패널이 욕조, 샤워기 또는 창문과 맞닿는 가장자리에 따라 방수 밀봉제를 발라 주세요. 깔끔한 외관을 위해 물에 적신 손가락으로 매끄럽게 정리하세요.
- 틈 메우기 : 상단 또는 하단(천장 또는 바닥 근처)에 작은 틈이 있다면 밀봉제로 메우세요. 큰 틈의 경우, PVC 트림 부품을 크기에 맞춰 절단한 후 본드로 고정시키세요.
- 고정구 재설치 : 타월 바, 거울 또는 조명을 다시 설치하세요. 패널에 드릴 작업 시 주의를 기울이고, 작은 나사를 사용하며 사전에 구멍을 뚫어 패널이 깨지지 않도록 하세요.
전문가 같은 마감을 위한 팁
- חריץ מופעף : אם משתמשים בכמה פנלים אופקית, הזיזו את החריצים (כמו בלבנים) כדי לקבל מראה נקי יותר.
- הימנעו מחריצה מוגזמת : קלו יותר לתקן פנל שמעט ארוך מדי מאשר לתקן פנל ש קצר מדי.
- עיבוד בחלקים קטנים : התקינו קיר אחד בכל פעם כדי לשמור על סדר, במיוחד במרחבים עם מספר קירות.
- הניחו לתליין להתייבש : חכו 24 שעות לפני השימוש במקלחת או בהרטבת הקירות - זה יבטיח שהתליין יבש לחלוטין.
שאלות נפוצות
האם ניתן להתקין פנלי קיר PVC במקלחת מעל titles קיימות?
כן. כל עוד titles נקיות, שטוחות ומחוברות בצורה יציבה, ניתן להתקין פנלים מעליהן ישירות. זה חוסך זמן מכיוון שאין צורך להסיר את titles.
כמה זמן לוקח לייבוש החומר הדבקי?
מרבית החומרים הדבקיים מתייצבים תוך 30 דקות, אך הלכדה המלאה נמשכת 24 שעות. מומלץ להימנע מהרטבת הפאנלים בתקופה זו.
האם עליי להשתמש ברגלים עם פאנלי קירbath PVC?
בדרך כלל אין צורך בכך - חומר דבקי מספק עבור פאנלים קטנים ובינוניים. עבור פאנלים גדולים מאוד (מעל 8 רגל), מומלץ להוסיף מספר סרגלים בחלק העליון והתחתון לתמיכה נוספת.
האם ניתן לגזור פאנלי קירbath PVC בمقבת?
פנלים דקים מאוד (פחות מ-1/8 אינץ') ניתן לגזור באמצעות מספריים כבדים. לפנלים מרובים נדרש סכין רב-תכלית או גזם.
איך יש להתמודד עם פינות?
יש להשתמש בחלקי סיום לפינות (זמינים באותו גימור כמו הפאנלים) כדי לכסות את החיבור בין שני פאנלים. לאחר התקנת הפאנלים, יש להדביק את החלקים.
מה לעשות אם פנל נפגע במהלך ההתקנה?
שריטות קטנות ניתן לשטוף עם בד לח. עבור סדקים או חורים גדולים, להחליף את הפאנלPVC קל להסיר ולהתקין מחדש.
האם ניתן להתקין קרשים לדפנות 우שה מ-PVC במקלחת?
כן, הם מומגים. ודאו להטמין את כל הצלעות בחומר מומג כדי למנוע חדירת מים אל פניהם.